Deregister AMI (15)

Automate JSON File Processing From S3 Bucket And Push In DynamoDB Using Lambda

Automating JSON file processing can save you a lot of time and effort, especially when working with large datasets. In this blog, you’ll learn how to use AWS Lambda to automate the process of reading JSON files from an AWS S3 bucket and pushing the data into AWS DynamoDB. Whether you’re new to AWS Lambda or looking to streamline your data workflows, this step-by-step guide will help you set up an efficient serverless pipeline for JSON to DynamoDB integration.

In this blog, we will explore a complete workflow that involves interacting with various AWS services to process data efficiently. We will begin by monitoring an S3 bucket for the creation of new JSON files. Once a new JSON file is detected, we will trigger an event that initiates a processing function, typically using AWS Lambda for serverless execution. The Lambda function will be responsible for reading and parsing the JSON content from the S3 bucket. After processing the data, which might include validation, transformation, or enrichment of the JSON records, the Lambda function will then push the processed data into a DynamoDB table for storage and further use. This end-to-end process showcases how AWS services can be seamlessly integrated to automate data workflows, ensuring real-time processing and storage of JSON data in a scalable and efficient manner.

You’ll cover everything from creating an AWS Lambda function to handling JSON files from S3, and best practices for parsing and pushing data into DynamoDB. You’ll learn how to trigger AWS Lambda from S3 for JSON file processing, automate JSON data ingestion to DynamoDB, and even see examples of using Python in AWS Lambda for these tasks. By the end of this guide, you’ll be able to automate your JSON file workflows with ease, ensuring that your data processing is both efficient and reliable.

Create Role For Lambda

  1. Create policy mentioned below.
    {
     "Version": "2012-10-17",
     "Statement": [
         {
             "Sid": "VisualEditor0",
             "Effect": "Allow",
             "Action": [
                 "dynamodb:CreateTable",
                 "s3:PutObject",
                 "s3:GetObject",
                 "dynamodb:PutItem",
                 "dynamodb:UpdateItem",
                 "dynamodb:UpdateTable"
                 "logs:CreateLogDelivery",
                 "logs:PutMetricFilter",
                 "logs:CreateLogStream",
                 "logs:GetLogRecord",
                 "logs:DeleteLogGroup",
                 "logs:GetLogEvents",
                 "logs:FilterLogEvents",
                 "logs:GetLogGroupFields",
                 "logs:CreateLogGroup",
                 "logs:DeleteLogStream",
                 "logs:GetLogDelivery",
                 "logs:PutLogEvents"
             ],
             "Resource": "*"
         }
     ]
    }
    
  2. Now create new role for lambda and attach this policy to the role.

Create S3 Bucket And Attach Tags

Creates a new S3 bucket. To create a bucket, you must register with Amazon S3 and have a valid Amazon Web Services Access Key ID to authenticate requests. Anonymous requests are never allowed to create buckets. By creating the bucket, you become the bucket owner.

  1. Lets import boto3 module
    import boto3
    
  2. We will invoke the client for S3
    client = boto3.client('s3')
    
  3. Now we will use input() to take bucket name to be create as user input and will store in variable “bucket_name“.
    Note:- Make sure to check the bucket naming rules here
    bucket_name=str(input('Please input bucket name to be created: '))
    
  4. Goto link where you will find all arguments list. Based on your requirement you can put this arguments to list your S3 buckets. This document also mentions datatype of the parameter.
    Note:-Bucket Name argument is mandatory and bucket name should be unique
    response1 = client.create_bucket(
     ACL='public-read-write',
     Bucket=bucket_name
     )
    
  5. Now we will use input() to confirm if user wants to go ahead with bucket tagging via user input and will store it in variable “tag_resp“.
    tag_resp=str(input('Press "y" if you want to tag your bucket?: '))
    
  6. Now we will use if condition and take user input for tags which needs to be defined for bucket.
    We will store tag key in variable “tag_key” and tag value in “tag_value“. To add tag to bucket we are going to use put_bucket_tagging() method, make sure to check official documentation here In method parameters we are passing variable as “bucket_name“,”tag_key“,”tag_value“.
    if tag_resp == 'y':
    tag_key=str(input("Please enter key for the tag: "))
    tag_value = str(input("Please enter value for the tag: "))
    response2 = client.put_bucket_tagging(
    Bucket=bucket_name,
    Tagging={
        'TagSet': [
            {
                'Key': tag_key,
                'Value': tag_value
            }
        ]
    })
    

    To view entire github code please click here

Create DynamoDB Table

  1. Python code in one module gains access to the code in another module by the process of importing it. The import statement combines two operations it searches for the named module, then it binds the results of that search to a name in the local scope.
    import boto3
    
  2. We will invoke the resource for DyanamoDB.
    dynamodb = boto3.resource('dynamodb')
    
  3. We will use create_table() function to create table in Dynamo DB with following arguments listed below. Here we will see 2 examples one with “primary keys only” and another with “primary key and sort key”. You can find official documentation here.
    Example1:- Below code is to create table with primary key only
    table = dynamodb.create_table(
     TableName='user',
     KeySchema=[
         {
             'AttributeName': 'id',
             'KeyType': 'HASH'    #Partition Key Only
         }
     ],
     AttributeDefinitions=[
         {
             'AttributeName': 'id',
             'AttributeType': 'N'
         }
     ],
     ProvisionedThroughput={
         'ReadCapacityUnits': 1,
         'WriteCapacityUnits': 1
     },
    )
    

    You can find working code for example in Git Repo here

Lambda Function To Read JSON File From S3 Bucket And Push Into DynamoDB Table

  1. Goto Lambda console and click on create functionimage.png
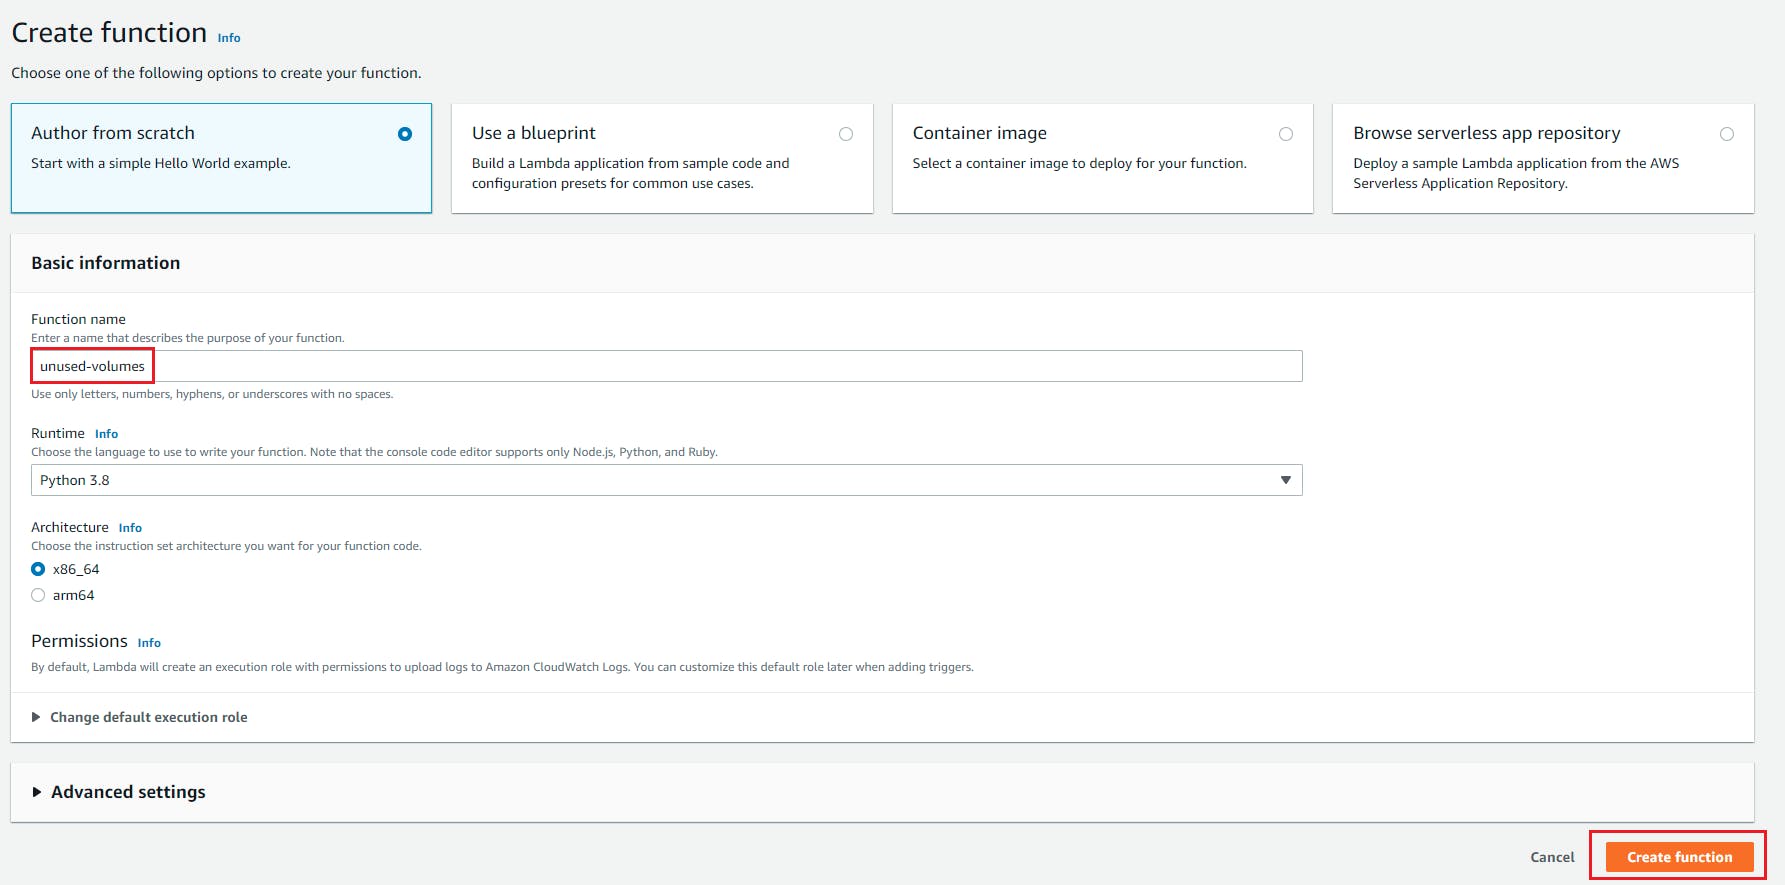
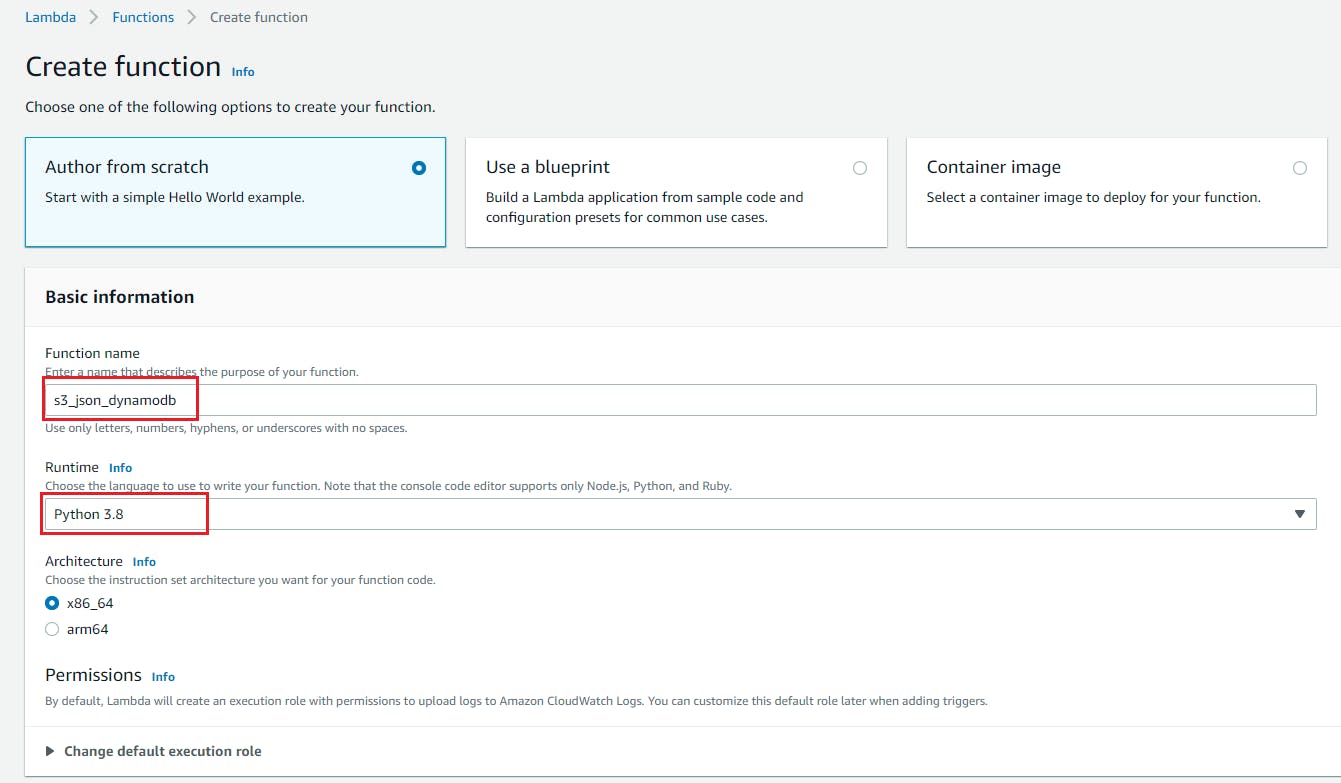
  2. Select “Author From Scratch” , Function name = s3_json_dynamodb, Runtime= Python and role we created with above policy attached to this blog and click on create function.image.png
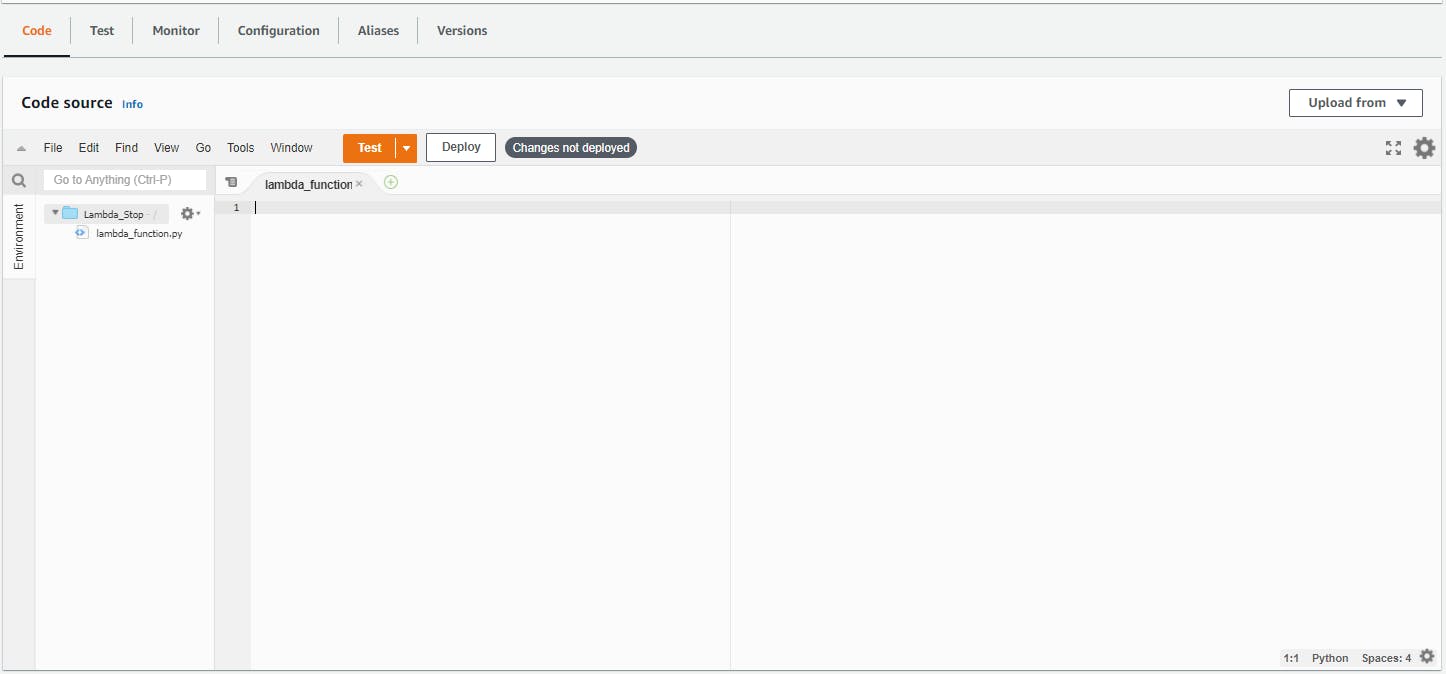
  3. Goto code editor and start writing the code.image.png
  4. We will import 3 modules
    import boto3
    import json
    import ast
    
  5. We will invoke the client for S3 and resource for dynamodb
    s3_client = boto3.client('s3')
    dynamodb_client = boto3.resource('dynamodb')
    
  6. First we will fetch bucket name from event json object
    def lambda_handler(event, context):
     bucket = event['Records'][0]['s3']['bucket']['name']
  7. Now we will fetch file name which is uploaded in s3 bucket from event json object
    def lambda_handler(event, context):
     bucket = event['Records'][0]['s3']['bucket']['name']
     json_file_name = event['Records'][0]['s3']['object']['key']
  8. We will call now get_object() function to Retrieves objects from Amazon S3. To use GET , you must have READ access to the object. If you grant READ access to the anonymous user, you can return the object without using an authorization header. You can view this function official documentation here
    def lambda_handler(event, context):
     bucket = event['Records'][0]['s3']['bucket']['name']
     json_file_name = event['Records'][0]['s3']['object']['key']
     json_object = s3_client.get_object(Bucket=bucket,Key=json_file_name)
    
  9. Lets decode the json object returned by function which will return string
    def lambda_handler(event, context):
     bucket = event['Records'][0]['s3']['bucket']['name']
     json_file_name = event['Records'][0]['s3']['object']['key']
     json_object = s3_client.get_object(Bucket=bucket,Key=json_file_name)
     file_reader = json_object['Body'].read().decode("utf-8")
    
  10. We will now change this json string to dictionary by using ast.literal_eval(). You can view this function official documentation here
    def lambda_handler(event, context):
    bucket = event['Records'][0]['s3']['bucket']['name']
    json_file_name = event['Records'][0]['s3']['object']['key']
    json_object = s3_client.get_object(Bucket=bucket,Key=json_file_name)
    file_reader = json_object['Body'].read().decode("utf-8")
    file_reader = ast.literal_eval(file_reader)
  11. Here first we will use dynamodb.Table(‘user’) function which will return our user table information which will be saved in table variable. Make sure to check official documentation here
    def lambda_handler(event, context):
    bucket = event['Records'][0]['s3']['bucket']['name']
    json_file_name = event['Records'][0]['s3']['object']['key']
    json_object = s3_client.get_object(Bucket=bucket,Key=json_file_name)
    file_reader = json_object['Body'].read().decode("utf-8")
    file_reader = ast.literal_eval(file_reader)
    table = dynamodb_client.Table('user')
    
  12. Now we will use put_item() to push items into the user table. You can find official documentation here.
    def lambda_handler(event, context):
    bucket = event['Records'][0]['s3']['bucket']['name']
    json_file_name = event['Records'][0]['s3']['object']['key']
    json_object = s3_client.get_object(Bucket=bucket,Key=json_file_name)
    file_reader = json_object['Body'].read().decode("utf-8")
    file_reader = ast.literal_eval(file_reader)
    table = dynamodb_client.Table('user')
    table.put_item(Item=file_reader)
    return "success"
    

    To view entire github code please click here

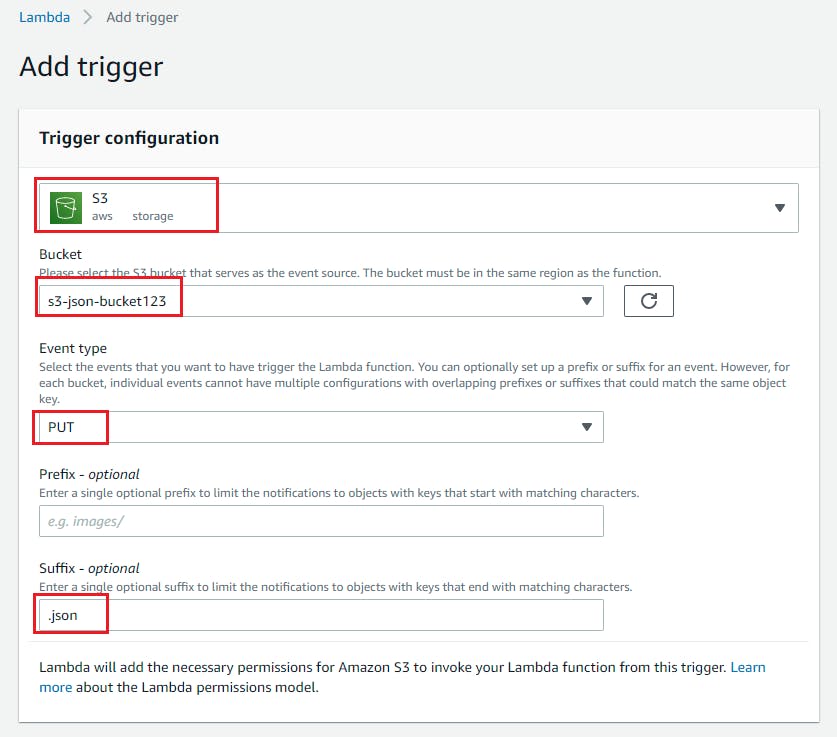
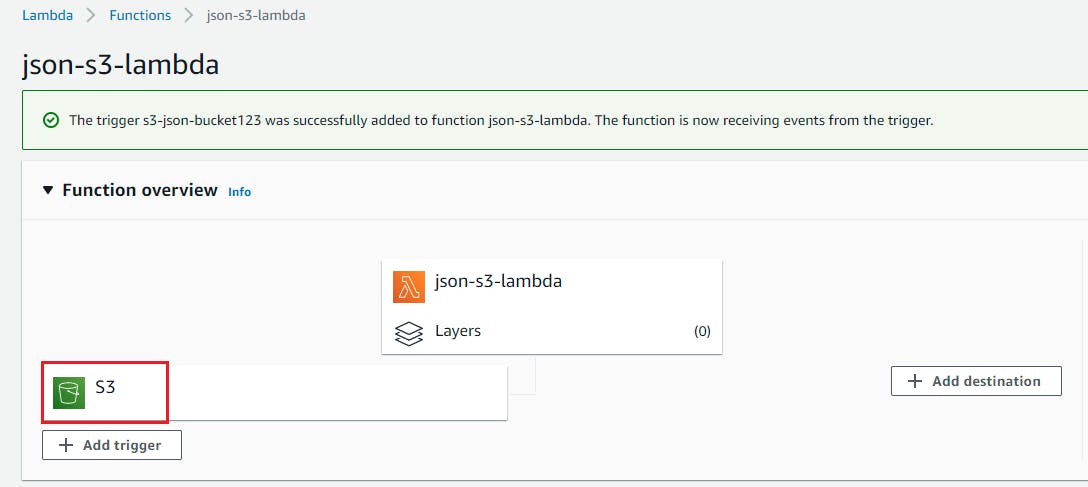
  1. Open Lambda function and click on add triggerimage.png
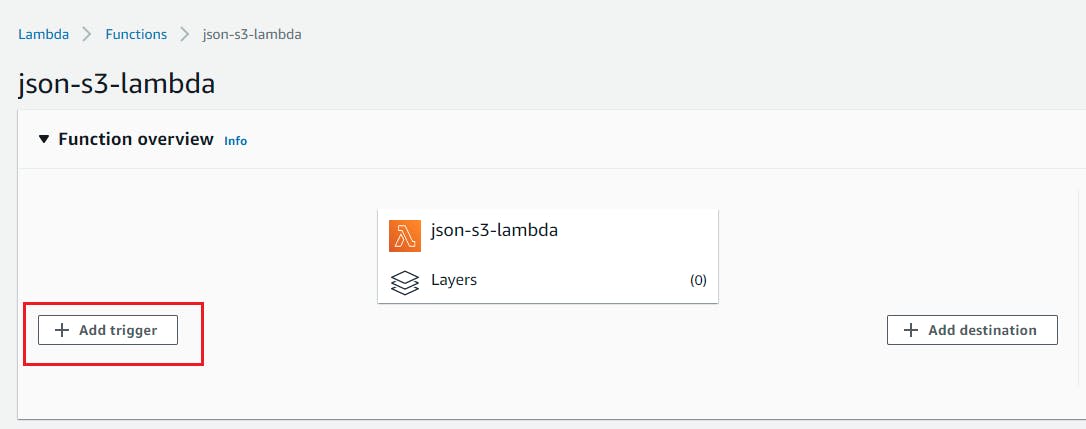
  2. Select S3 as trigger target and select the bucket we have created above and select event type as “PUT” and add suffix as “.json” Click on Add.image.pngimage.png
 
  1. Create .json file with below code
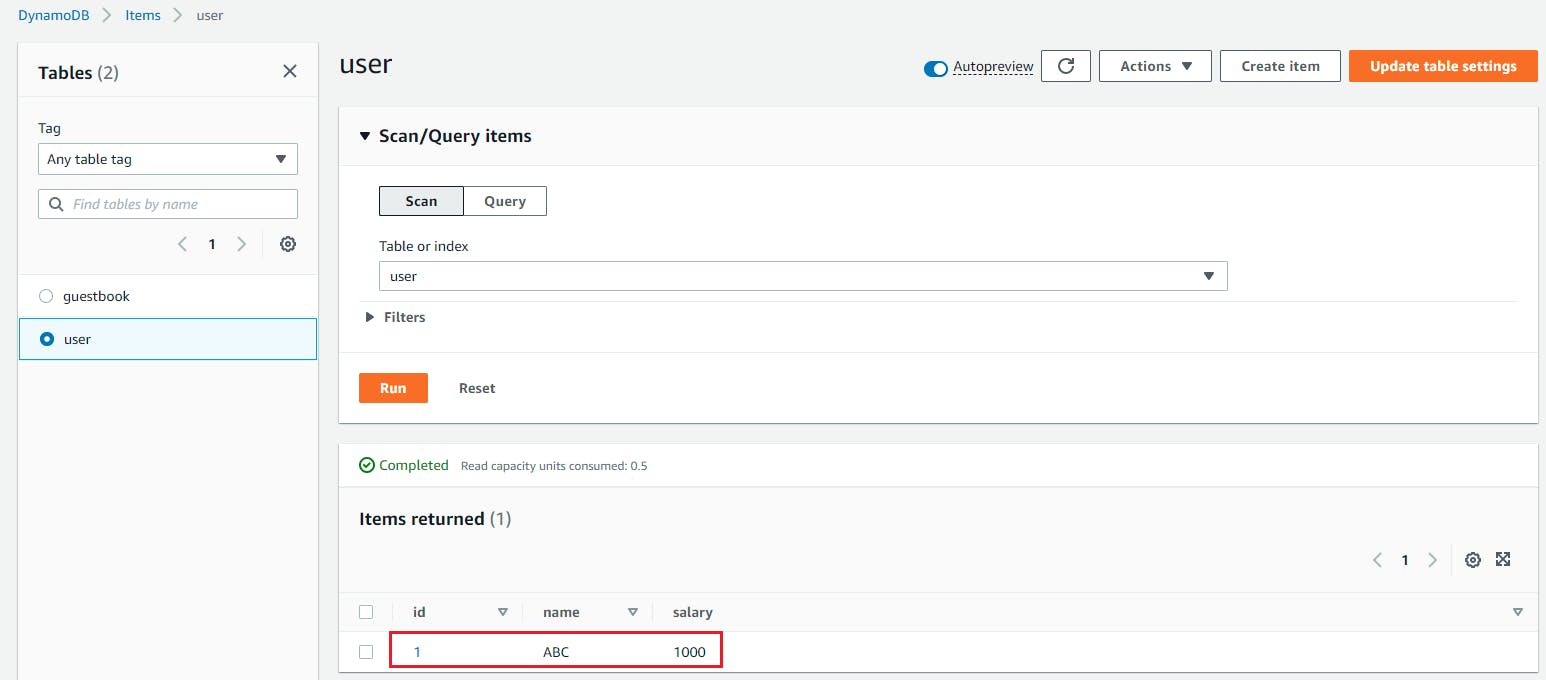
    {
         'id': 1,
         'name': 'ABC',
         'salary': '1000'
    }
    
  2. Now upload this file to S3 bucket and it will process the data and push this data to DynamoDB.image.png

Resource Cleanup

  • Delete Lambda Function
  • Delete DynamoDB Table
  • Delete S3 Bucket Object First And Then Bucket
  • Delete Lambda Role

🥁🥁 Conclusion 🥁🥁

.By now, you should have a solid understanding of how to automate JSON file processing from an AWS S3 bucket and push the data into AWS DynamoDB using AWS Lambda. We’ve covered the essentials, from setting up the Lambda function to handling JSON files efficiently. For those dealing with large JSON files, you can optimize AWS Lambda to ensure smooth processing.

🗂️ Real-time JSON file processing with AWS Lambda and DynamoDB can significantly improve your data workflow. Additionally, creating a serverless JSON to DynamoDB pipeline with AWS Lambda ensures your data is always up-to-date.

If you need to parse JSON files and push them to DynamoDB, or if you’re looking to handle streaming JSON data from S3 to DynamoDB, AWS Lambda can simplify these tasks. Remember, automating data pipelines from S3 to DynamoDB not only saves time but also enhances reliability. With the right setup, you can make your data processing more efficient and scalable.

Happy automating! 😊

📢 Stay tuned for my next blog…..

So, did you find my content helpful? If you did or like my other content, feel free to buy me a coffee. Thanks

Dheeraj_Pic1 (2)

Author - Dheeraj Choudhary

I am an IT Professional with 11+ years of experience specializing in DevOps & Build and Release Engineering, Software configuration management in automating, build, deploy and release. I blog about AWS and DevOps on my YouTube channel, which focuses on content such as, AWS, DevOps, open source, AI-ML and AWS community activities.

RELATED ARTICLES

Comments are closed.